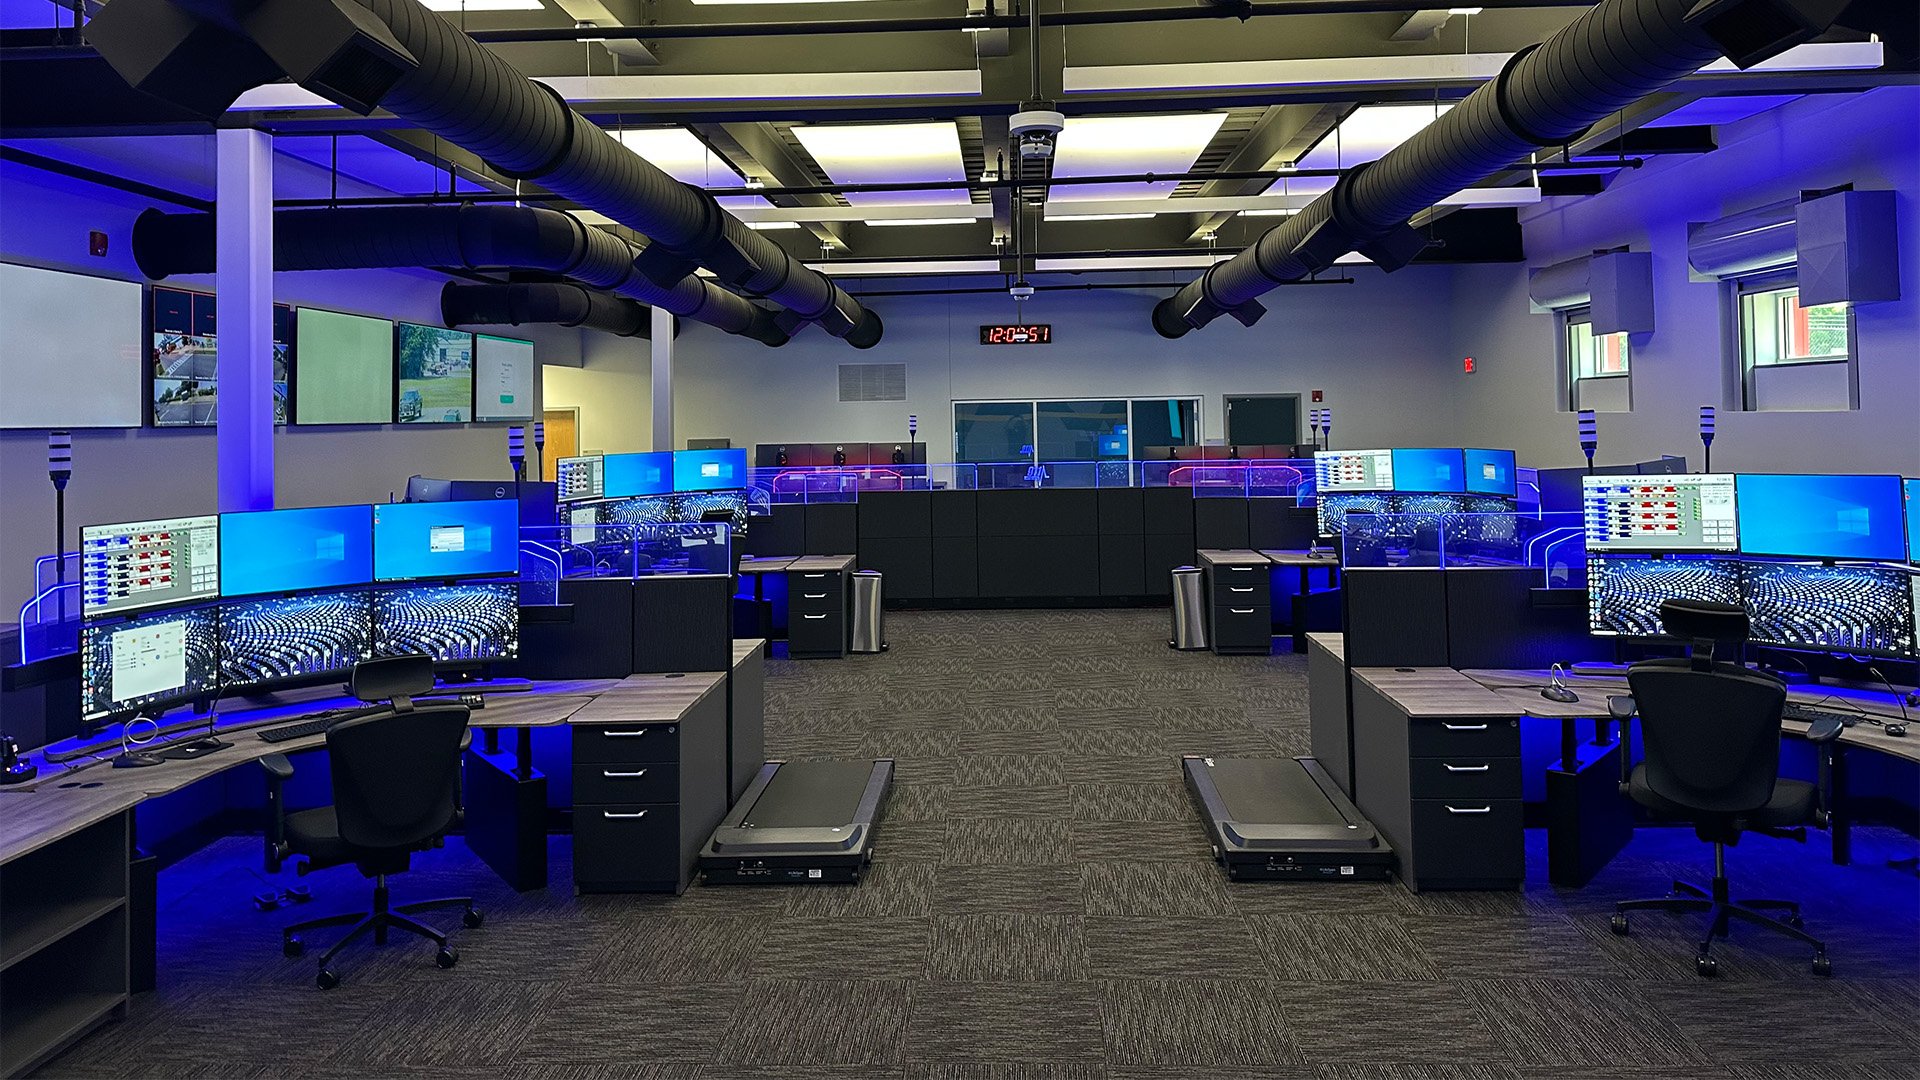
5 Keys to Installing a Radiology Imaging Desk
Imaging desks used in radiology labs are real powerhouses with sit-to-stand flexibility, expert monitor mounts, cable management, and plenty of creature comforts. A look at the installation process reveals key setup techniques and features that ensure a strong, stable, long-lasting desk that enhances health and productivity—and looks good doing it.
Here, Jho Cervantes, Xybix North Central Territory Healthcare Manager, describes the process of installing a large 84” x 84” desk with a dual curved laminate surface, monitor arc, cable management, and personal climate controls at Unity Point Healthcare Center in Des Moines, Iowa.
- Expect installation to take 2 to 3 hours, depending on the size and complexity of the desk and the location of the room.
- A professional installer who knows the specific desks inside and out ensures a stable desk that protects the radiologist and the heavy equipment.
- Free 3D Revit models provided by a professional design team show exactly how the desk will look in the room—and guarantee that the installer places it in the correct position.
- Expert tools for creating an adjustable monitor array are crucial to creating an ergonomic environment for pain-free reading.
- Installing a computer/CPU hanger and cable management further protects equipment.
The Xybix Imaging Desk Installation Process
The installation process provides an up-close look at the components that make up a radiology desk, including the strength of the legs and the ingenuity of the Rollervision monitor arc. Xybix offers a variety of desks for radiology, whether working in a busy lab or working from home. See more here and reach out with any questions.


